Resources & Tool Guides
Comprehensive guides, tutorials, and step-by-step instructions for workshop equipment
🔧 Bending Machine
▼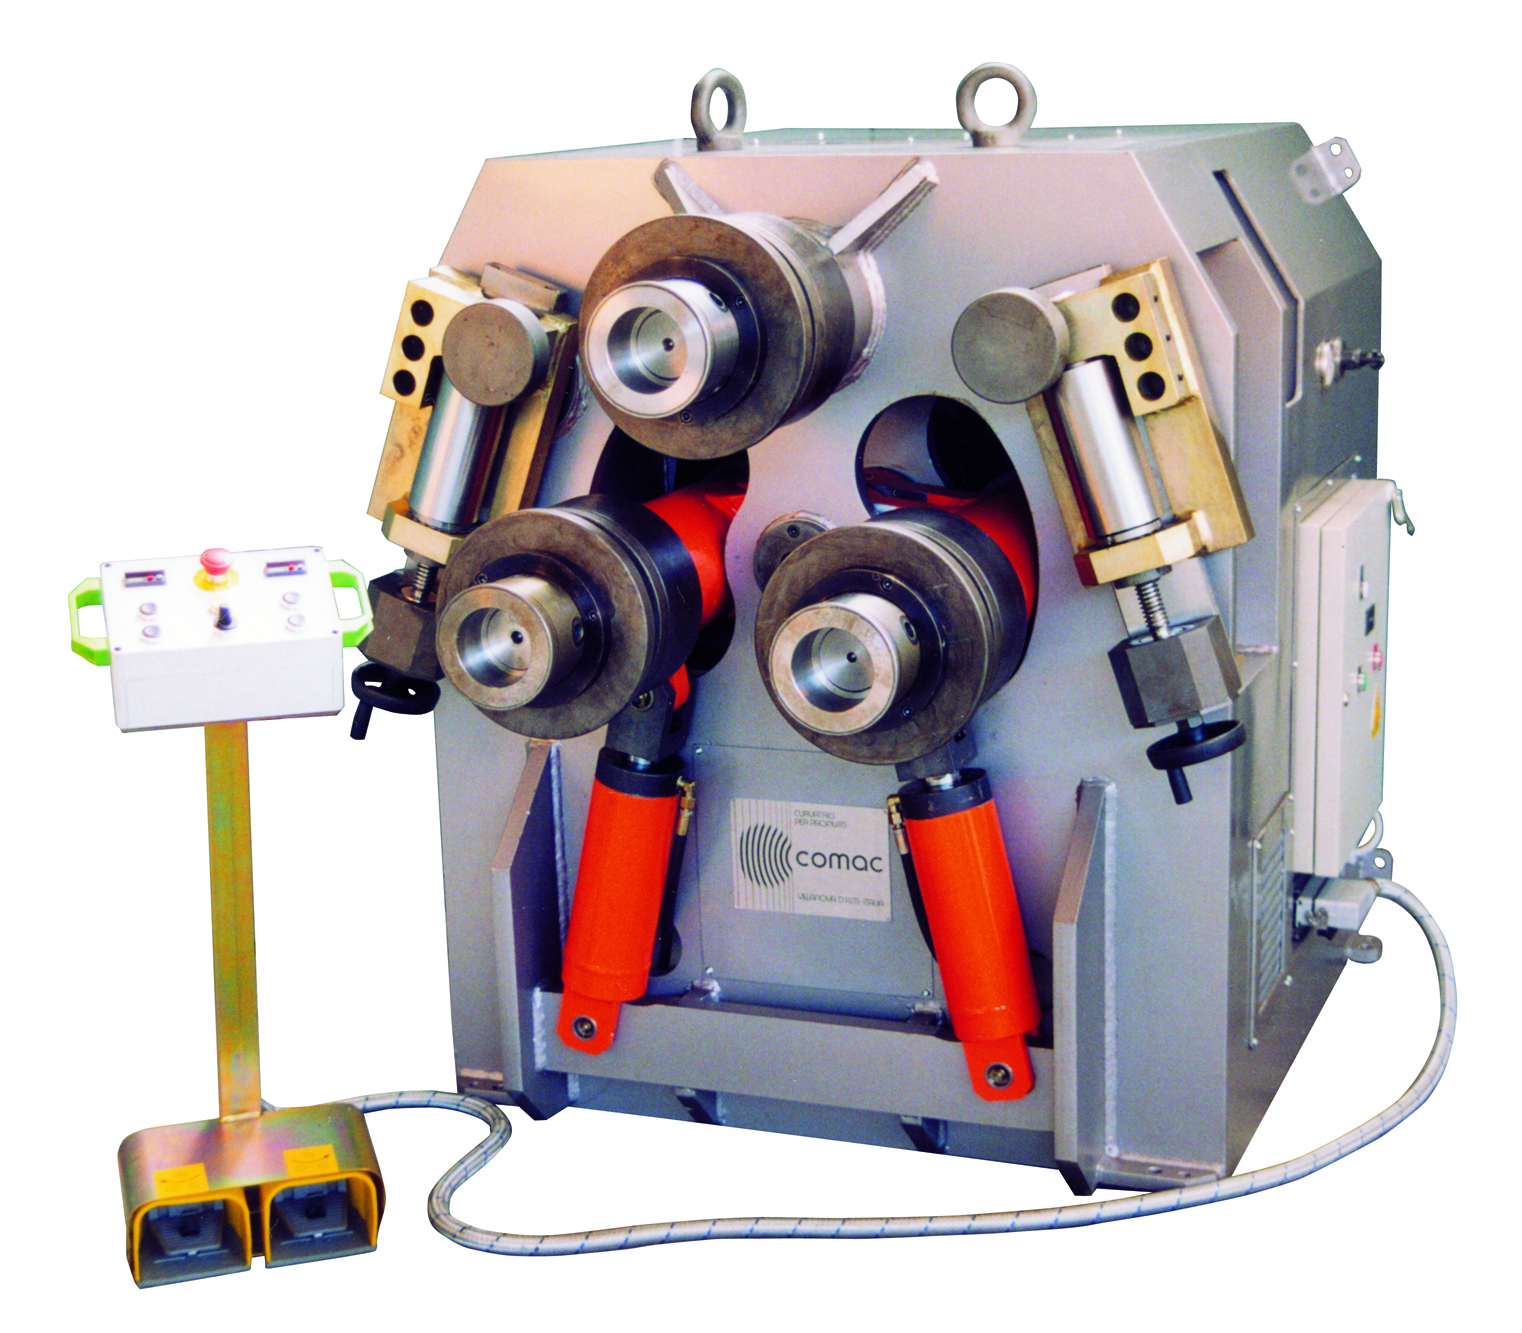
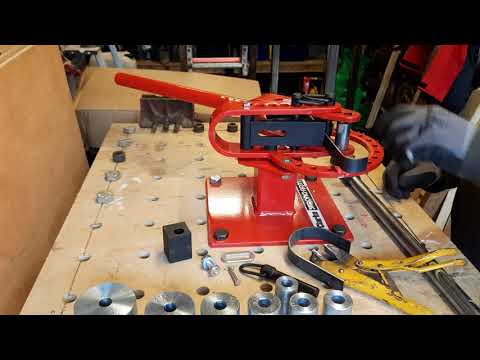
Sheet Metal Brake
Type: Manual bending machine
Applications: Precise bends, flanges, box forming
Materials: Sheet metal up to specified thickness
Learn proper bending techniques and safety procedures for metalworking projects.
📺 Complete Bending Machine PlaylistFeatured Tutorial: Advanced Bending Techniques
Basic Bending Steps
- Inspect the material for any defects or cracks
- Measure and mark the bend line accurately
- Set up the bending machine with appropriate dies
- Position the material securely in the machine
- Apply gradual pressure to create the bend
- Check the angle with a protractor or gauge
- Make adjustments if necessary
⚠️ Safety Requirements
- Green Level training minimum required
- Always wear safety glasses
- Keep hands clear of moving parts
- Never exceed the machine's capacity limits
⚡ Angle Grinder & Discs
▼Understanding different disc types and their applications for various metalworking tasks.
Angle Grinder Disc Types
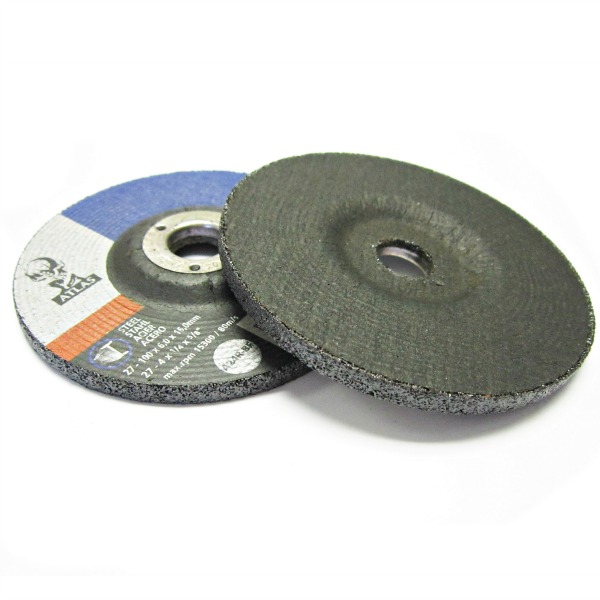
Grinding Wheel (Coarse Abrasive)
Solid grinding wheel disc with bonded abrasive material and ribbed edge for heavy material removal and aggressive cutting
What is a grinding wheel?
SOLID DISC with bonded abrasive material and ribbed edge. Aggressive cutting action for heavy material removal and rough shaping. Creates sparks and removes metal quickly.
Use: Heavy grinding, weld removal, aggressive material removal, rough shaping thick metal.
Result: Rough finish, requires follow-up with finer abrasives.
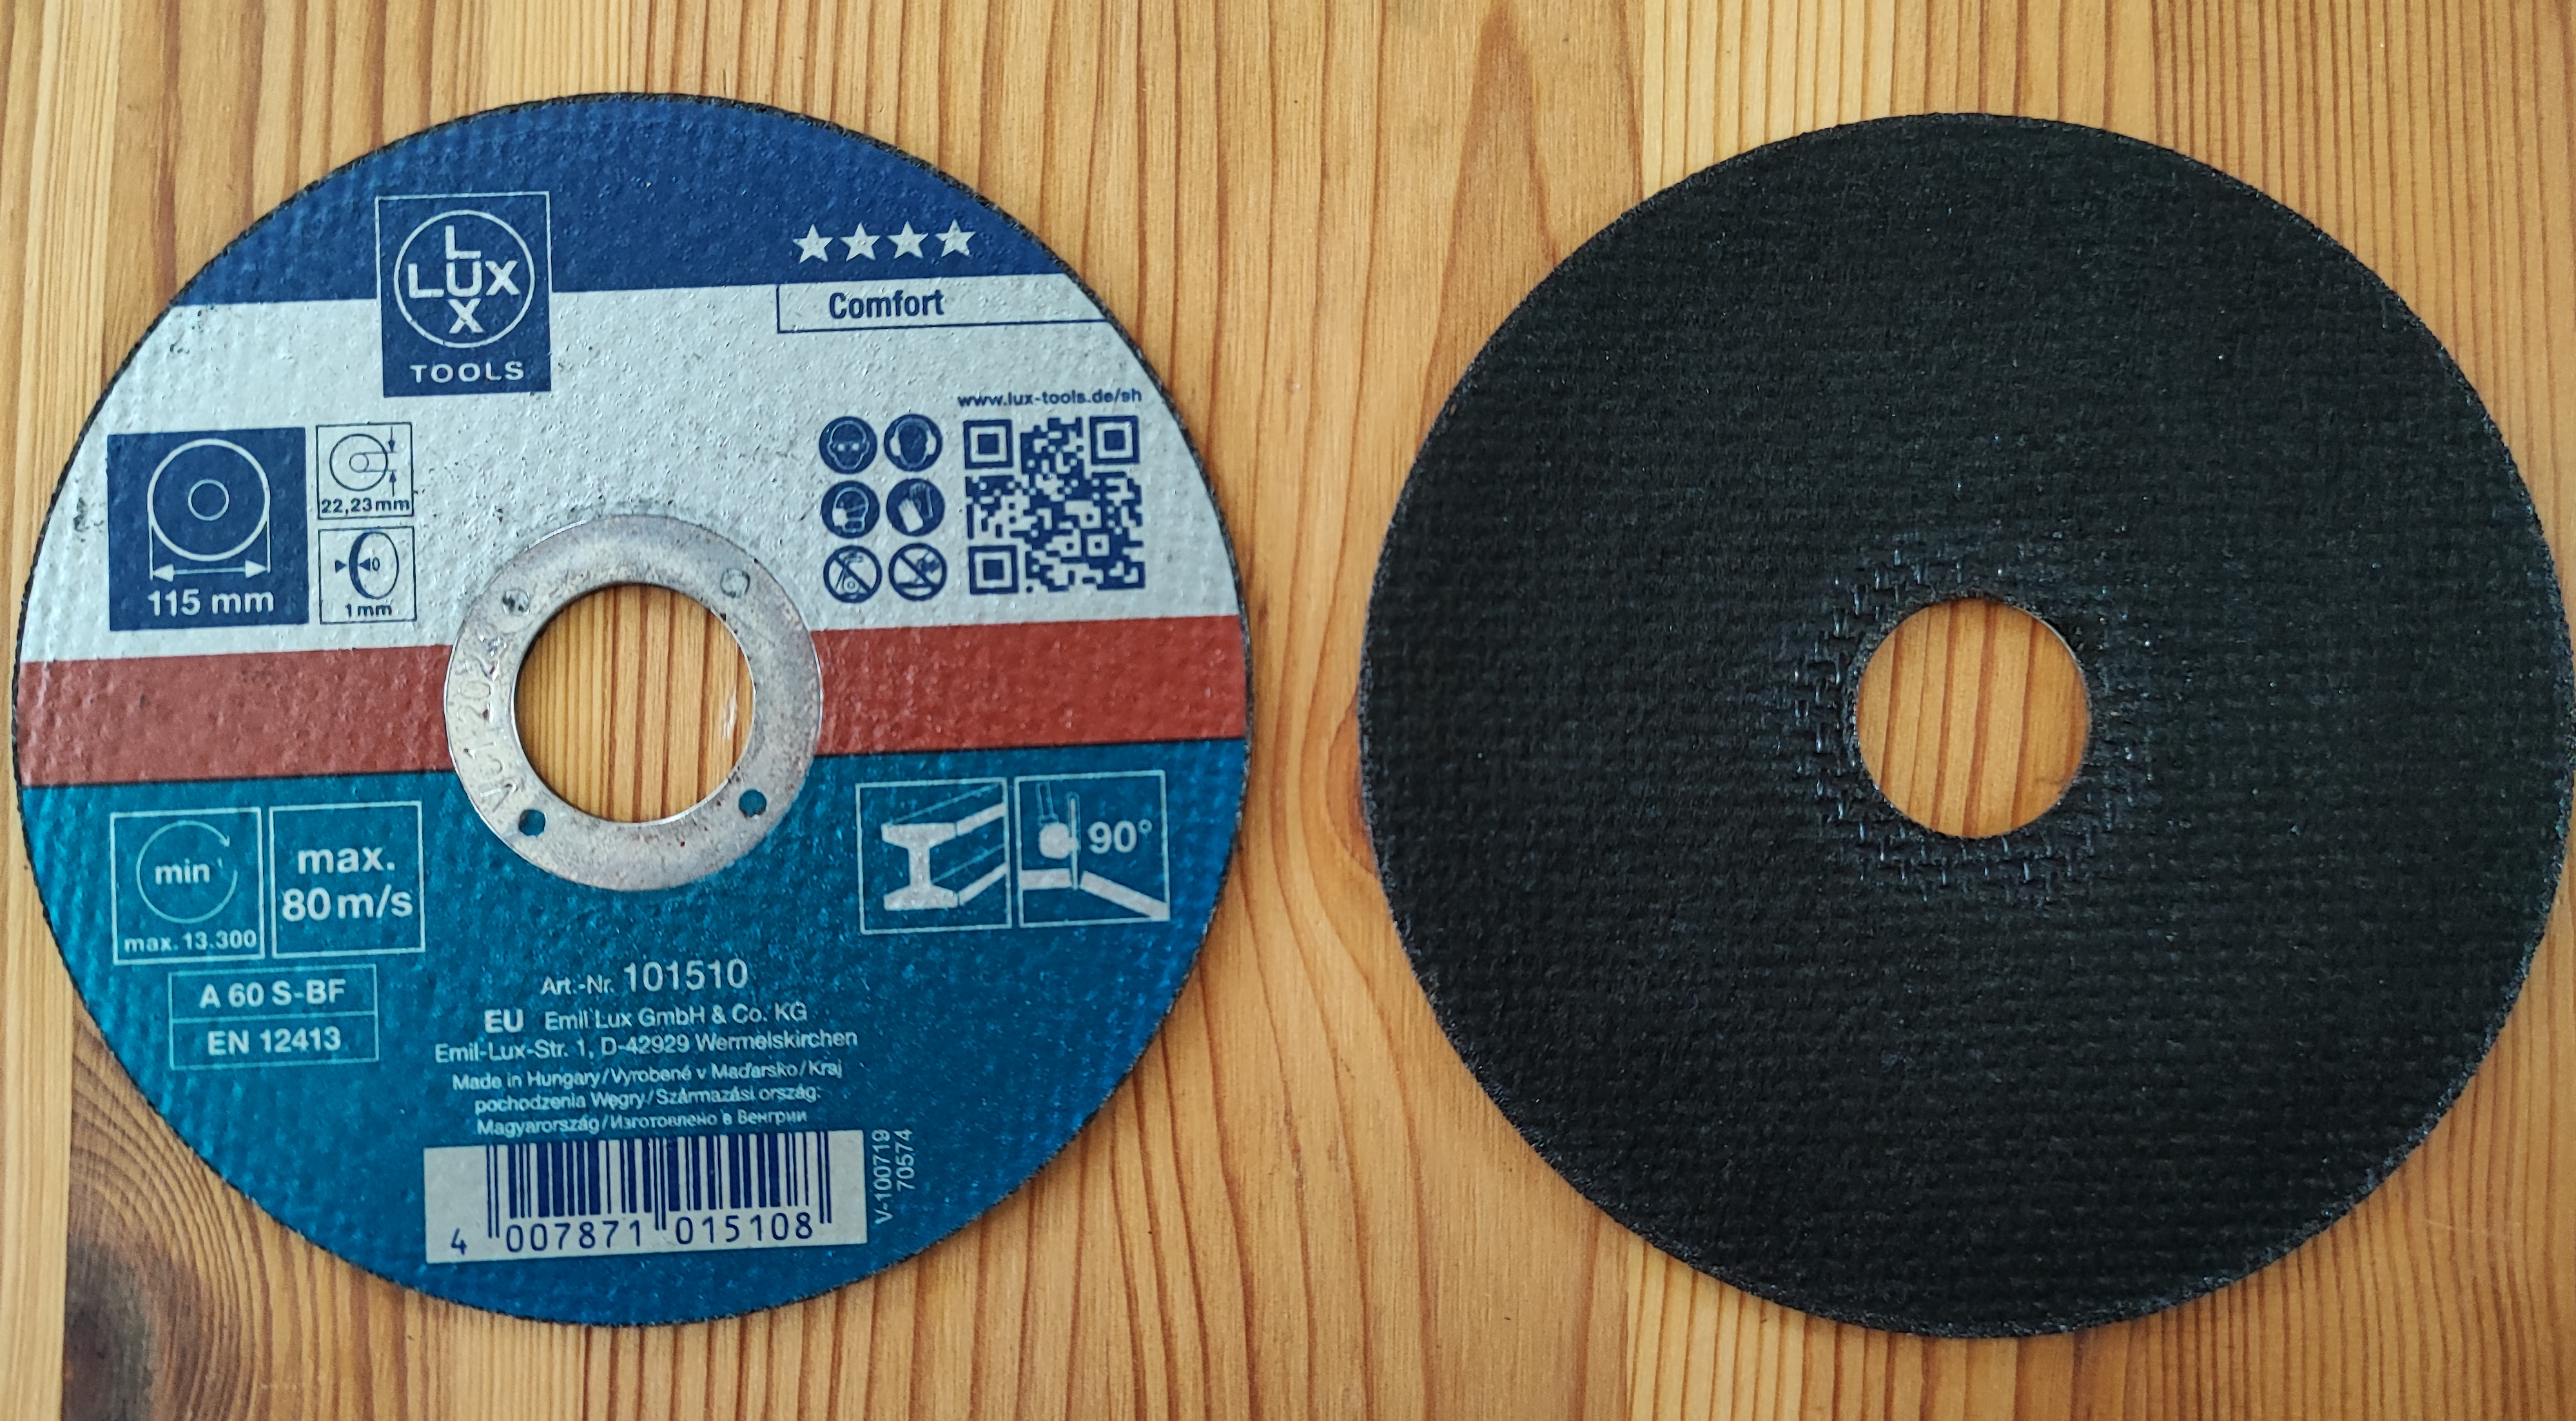
Cut-off Wheel
Thin profile cut-off wheel with tapered edge for slicing through metal, plate, rebar, and bolts
What is a cut-off wheel?
Thin profile with tapered edge suitable for slicing into metal (plate metal, rebar, bolts). Thicker cut-off wheels should be used for stronger metals.
Use: Cutting metal stock, trimming, precision cuts.
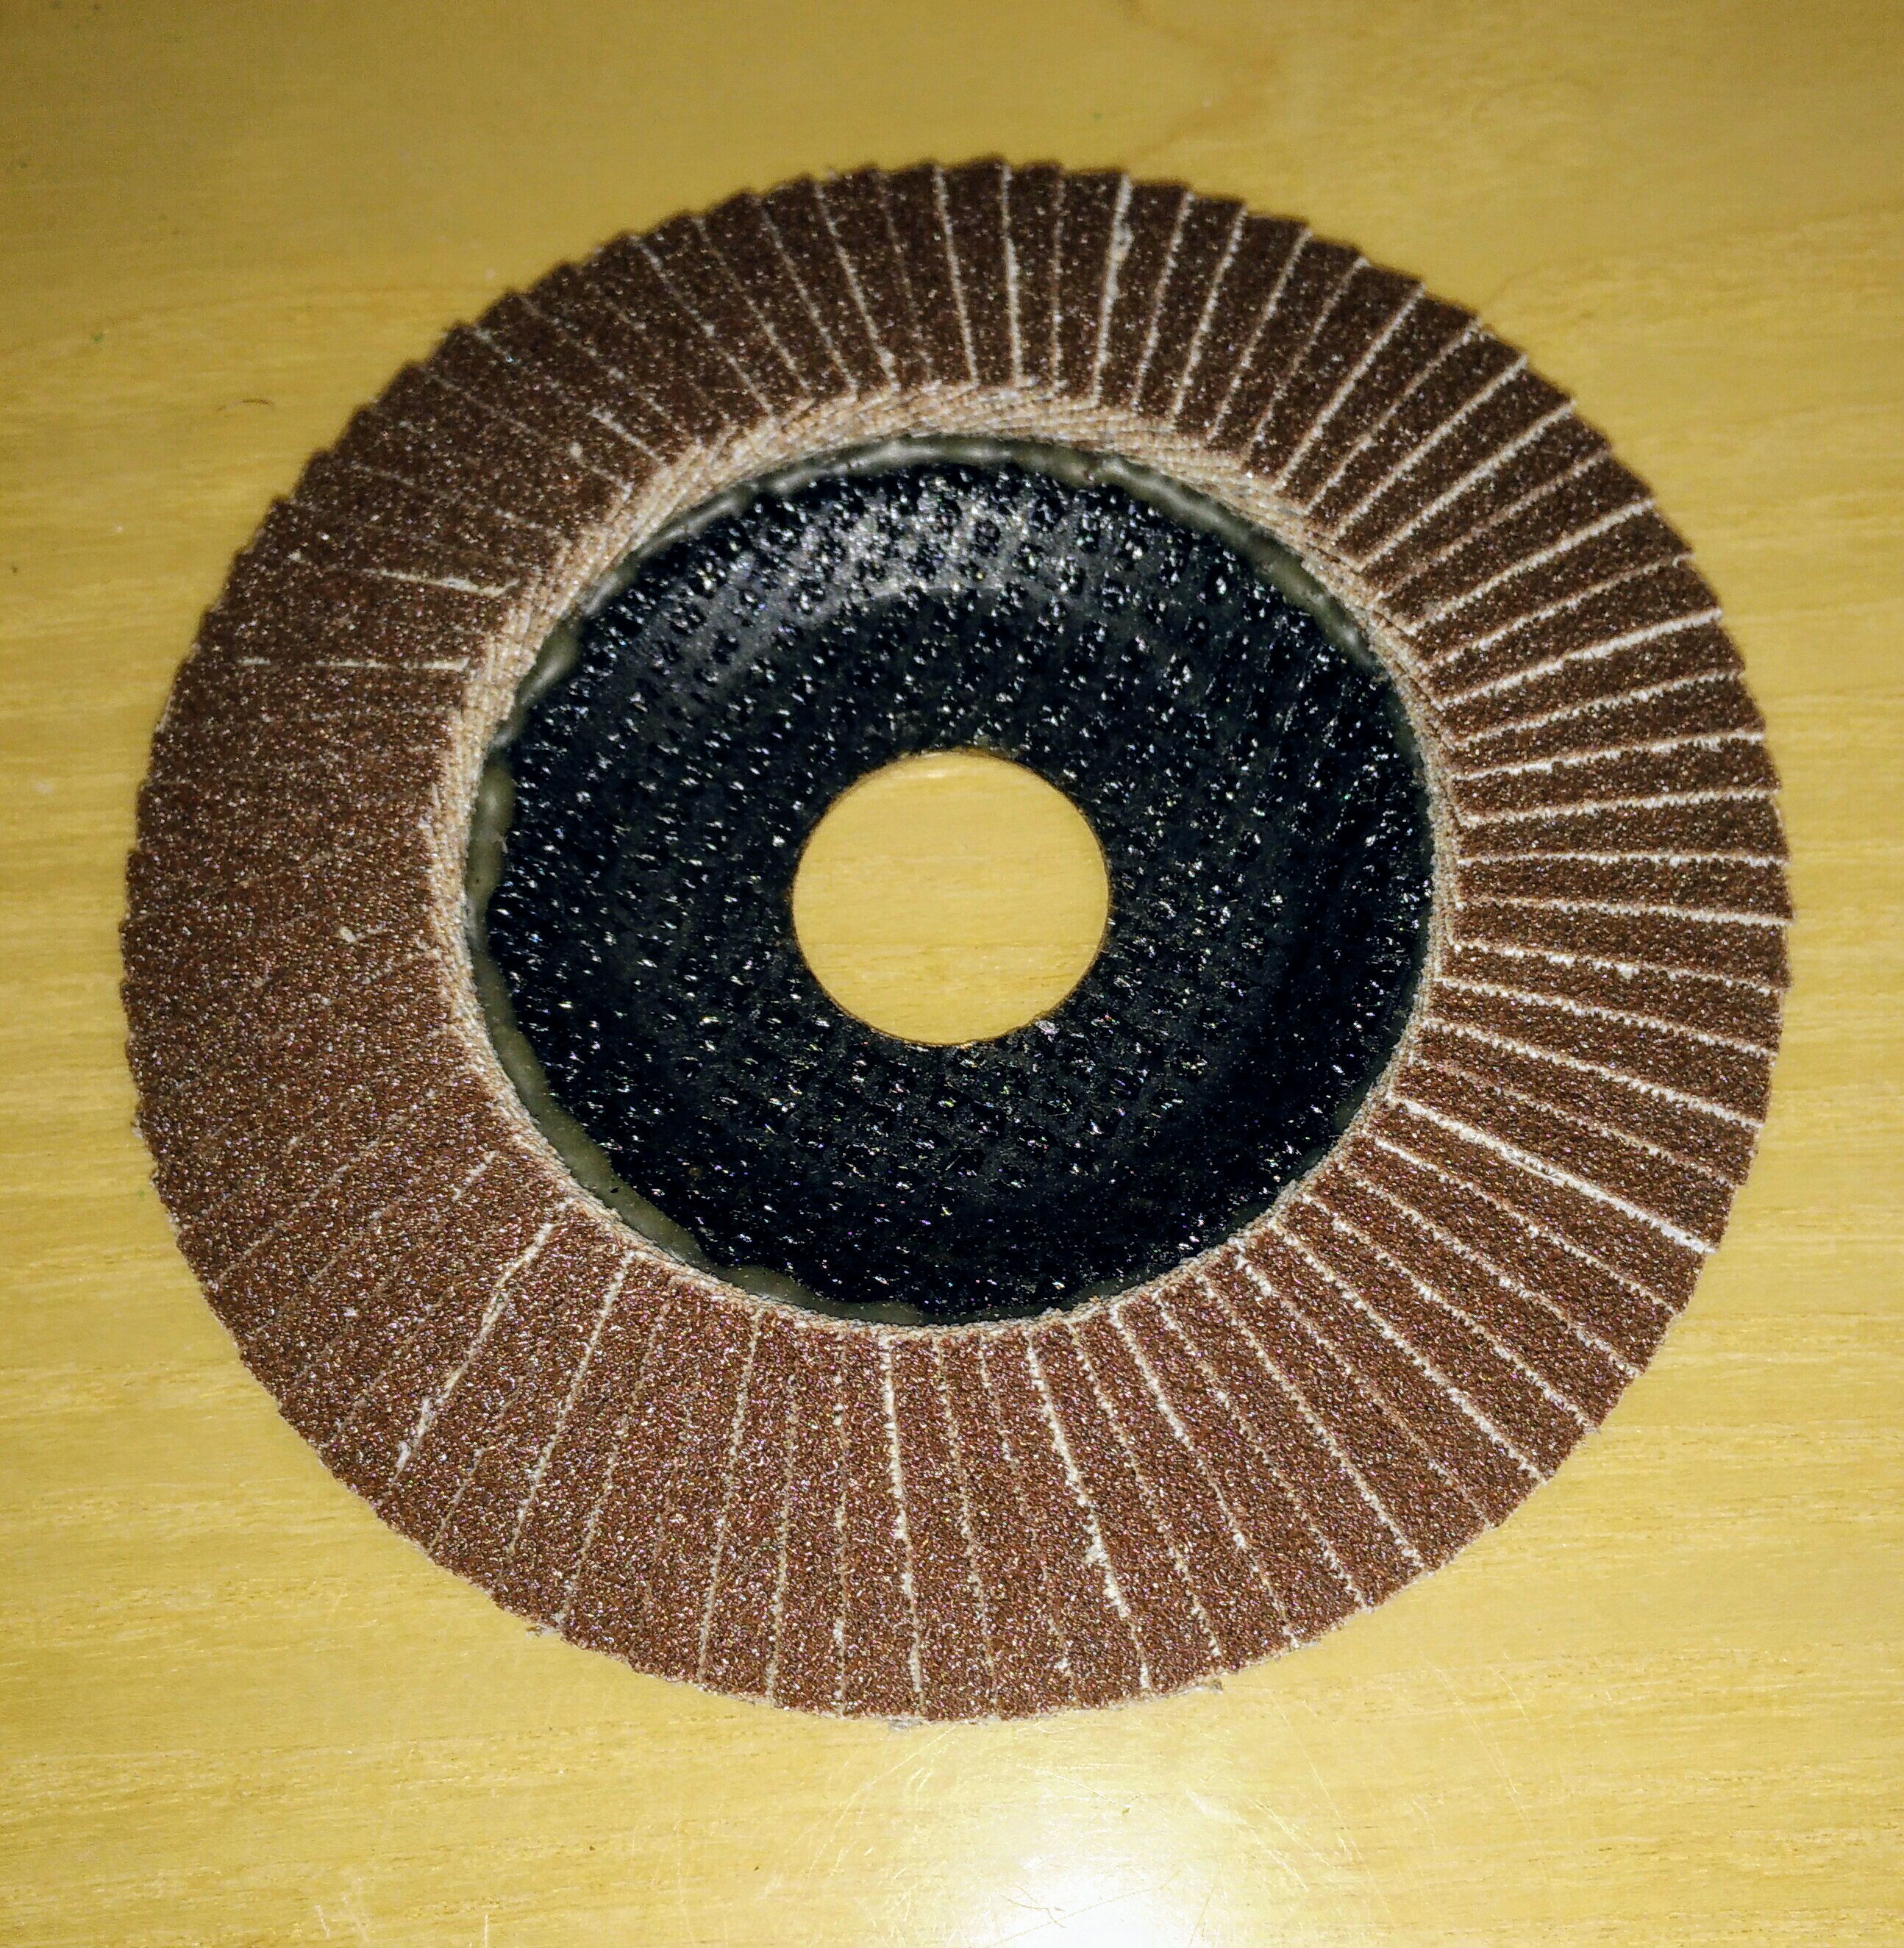
Flap Disc (Fine Finishing)
Flap disc with overlapping sandpaper flaps for fine finishing, deburring, and smooth metal polishing
What is a flap disc?
OVERLAPPING SANDPAPER FLAPS arranged around the disc. Much gentler than grinding wheels - like fine sandpaper for metal. Self-refreshing as outer layers wear away.
Use: Fine finishing, deburring, blending welds, scratch removal, polishing.
Result: Smooth, finished surface ready for painting or final use.
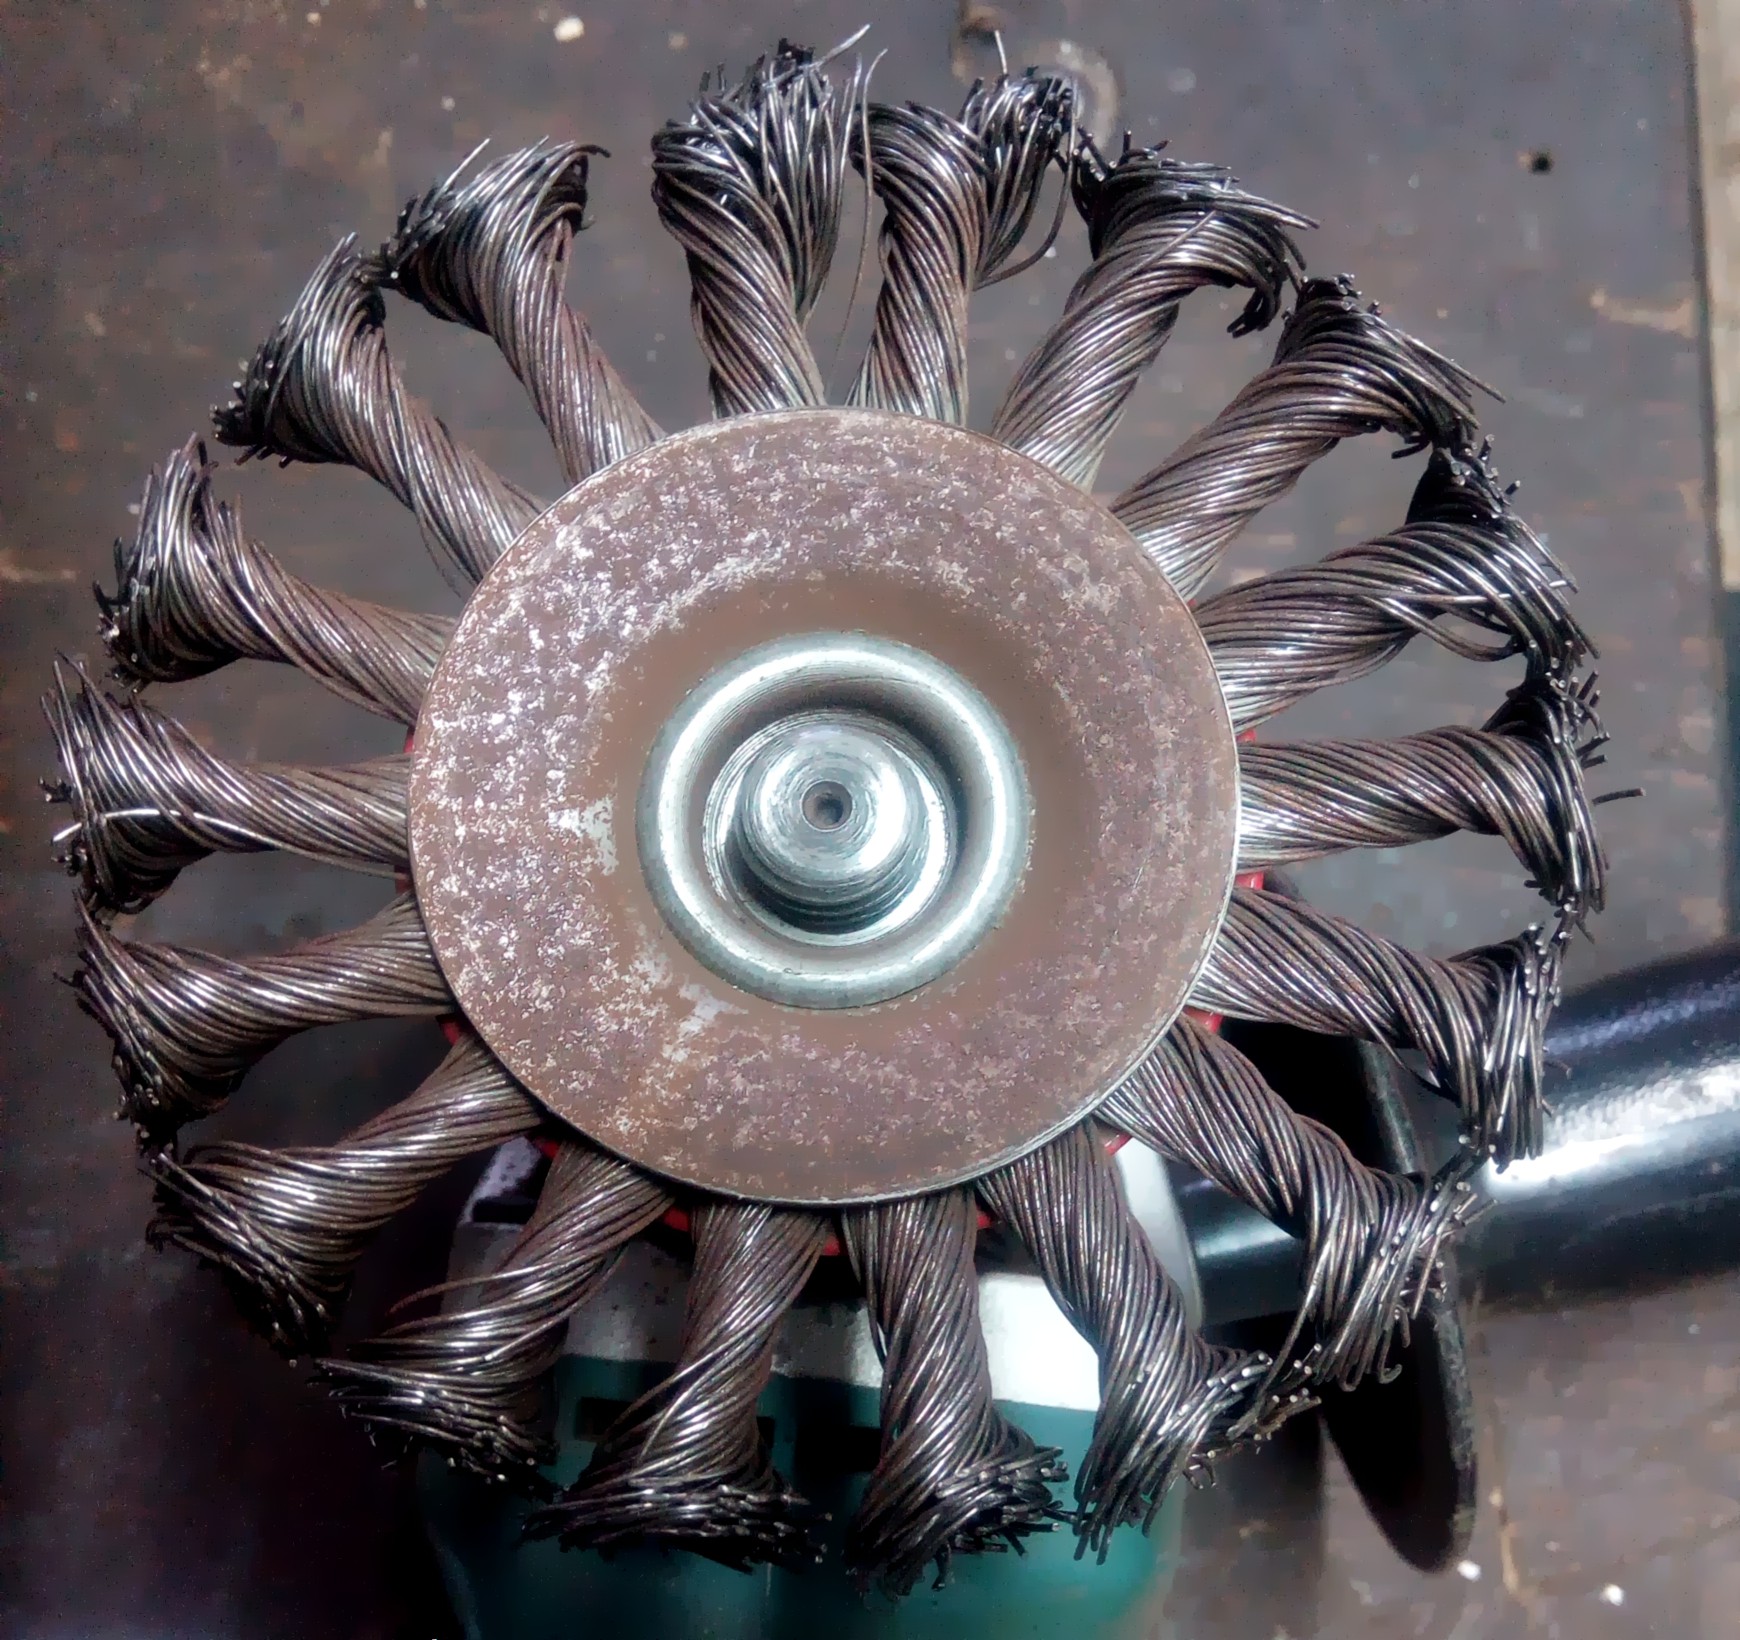
Wire Wheel
Wire wheel with metal wire fibres for removing rust, paint, and adhesives from metal surfaces
What is a wire wheel?
Metal wire fibres (straight or intertwined) for removing rust, paint, and adhesives from metal surfaces. Quality varies significantly.
Use: Rust removal, paint stripping, surface cleaning, preparation.
🏷️ Disc Safety — Expiry Dates & Material Identification
⏰ Check Before Every Use — Disc Condition & Expiry
- Shelf life: Bonded abrasive discs (grinding & cut-off wheels) have a maximum 3-year storage life from manufacture date (EN 12413 standard).
- Date code: Stamped on the disc label — look for a format like
03/2023or1Q23(1st quarter of 2023). Do not use expired discs. - Ring test: Before mounting, hold the disc with one finger through the centre hole and gently tap the edge with a non-metallic object. A clear ringing sound = safe to use. A dull thud = discard immediately — internal cracks are present.
- Visual inspection: Reject any disc showing cracks, chips, deep gouges, warping, or uneven wear. Even small damage can cause catastrophic failure.
- Storage: Store discs vertically in a dry, temperature-stable environment. Moisture and temperature swings degrade the bonding resin.
🎨 Colour Coding — What Material Is This Disc For?
Discs are colour-coded for the material they are designed to cut or grind. Using the wrong disc risks poor results, disc failure, and — for stainless steel — permanent corrosion contamination.
Mild steel & general purpose. The most common disc in the workshop.
Stainless steel only. Free of iron, sulfur & chlorine — prevents rust contamination. Must be labelled INOX.
Aluminium & non-ferrous (copper, brass). Never use a steel disc on aluminium — it can load and shatter.
Stone, concrete & masonry. Silicon carbide abrasive — not for metal.
Abrasive Code Letters (printed on every disc)
| Code | Abrasive Material | Best Used On |
|---|---|---|
| A | Aluminium Oxide | Mild steel, general metal — most common disc type |
| WA | White Aluminium Oxide | Hardened steel, precision grinding, tool steel |
| ZA | Zirconia Alumina | Stainless steel, heavy stock removal |
| C / GC | Silicon Carbide | Cast iron, stone, non-ferrous metals, ceramics |
⚡ Speed Rating: The maximum operating speed (RPM or m/s) is printed on every disc. Always confirm your grinder's no-load RPM does not exceed the disc's maximum rated speed. Never mount a disc on a machine faster than its rating — disc burst at speed is catastrophic.
📋 Typical Workflow: Grinding Wheel → Flap Disc
- Start with Grinding Wheel: Remove heavy material, rough shaping, weld removal
- Switch to Flap Disc: Smooth the rough surface, blend marks, final finishing
- Result: Professional finish ready for painting or use
Key Difference: Grinding wheels are for heavy removal, flap discs are for fine finishing.
⚠️ Critical Safety
- Yellow Level training required
- Always wear face protection and safety glasses
- Never touch discs after use (they generate extreme heat)
- Avoid cheap wire wheels that degrade quickly
- Use buddy system - never operate alone
🔥 MIG Welder
▼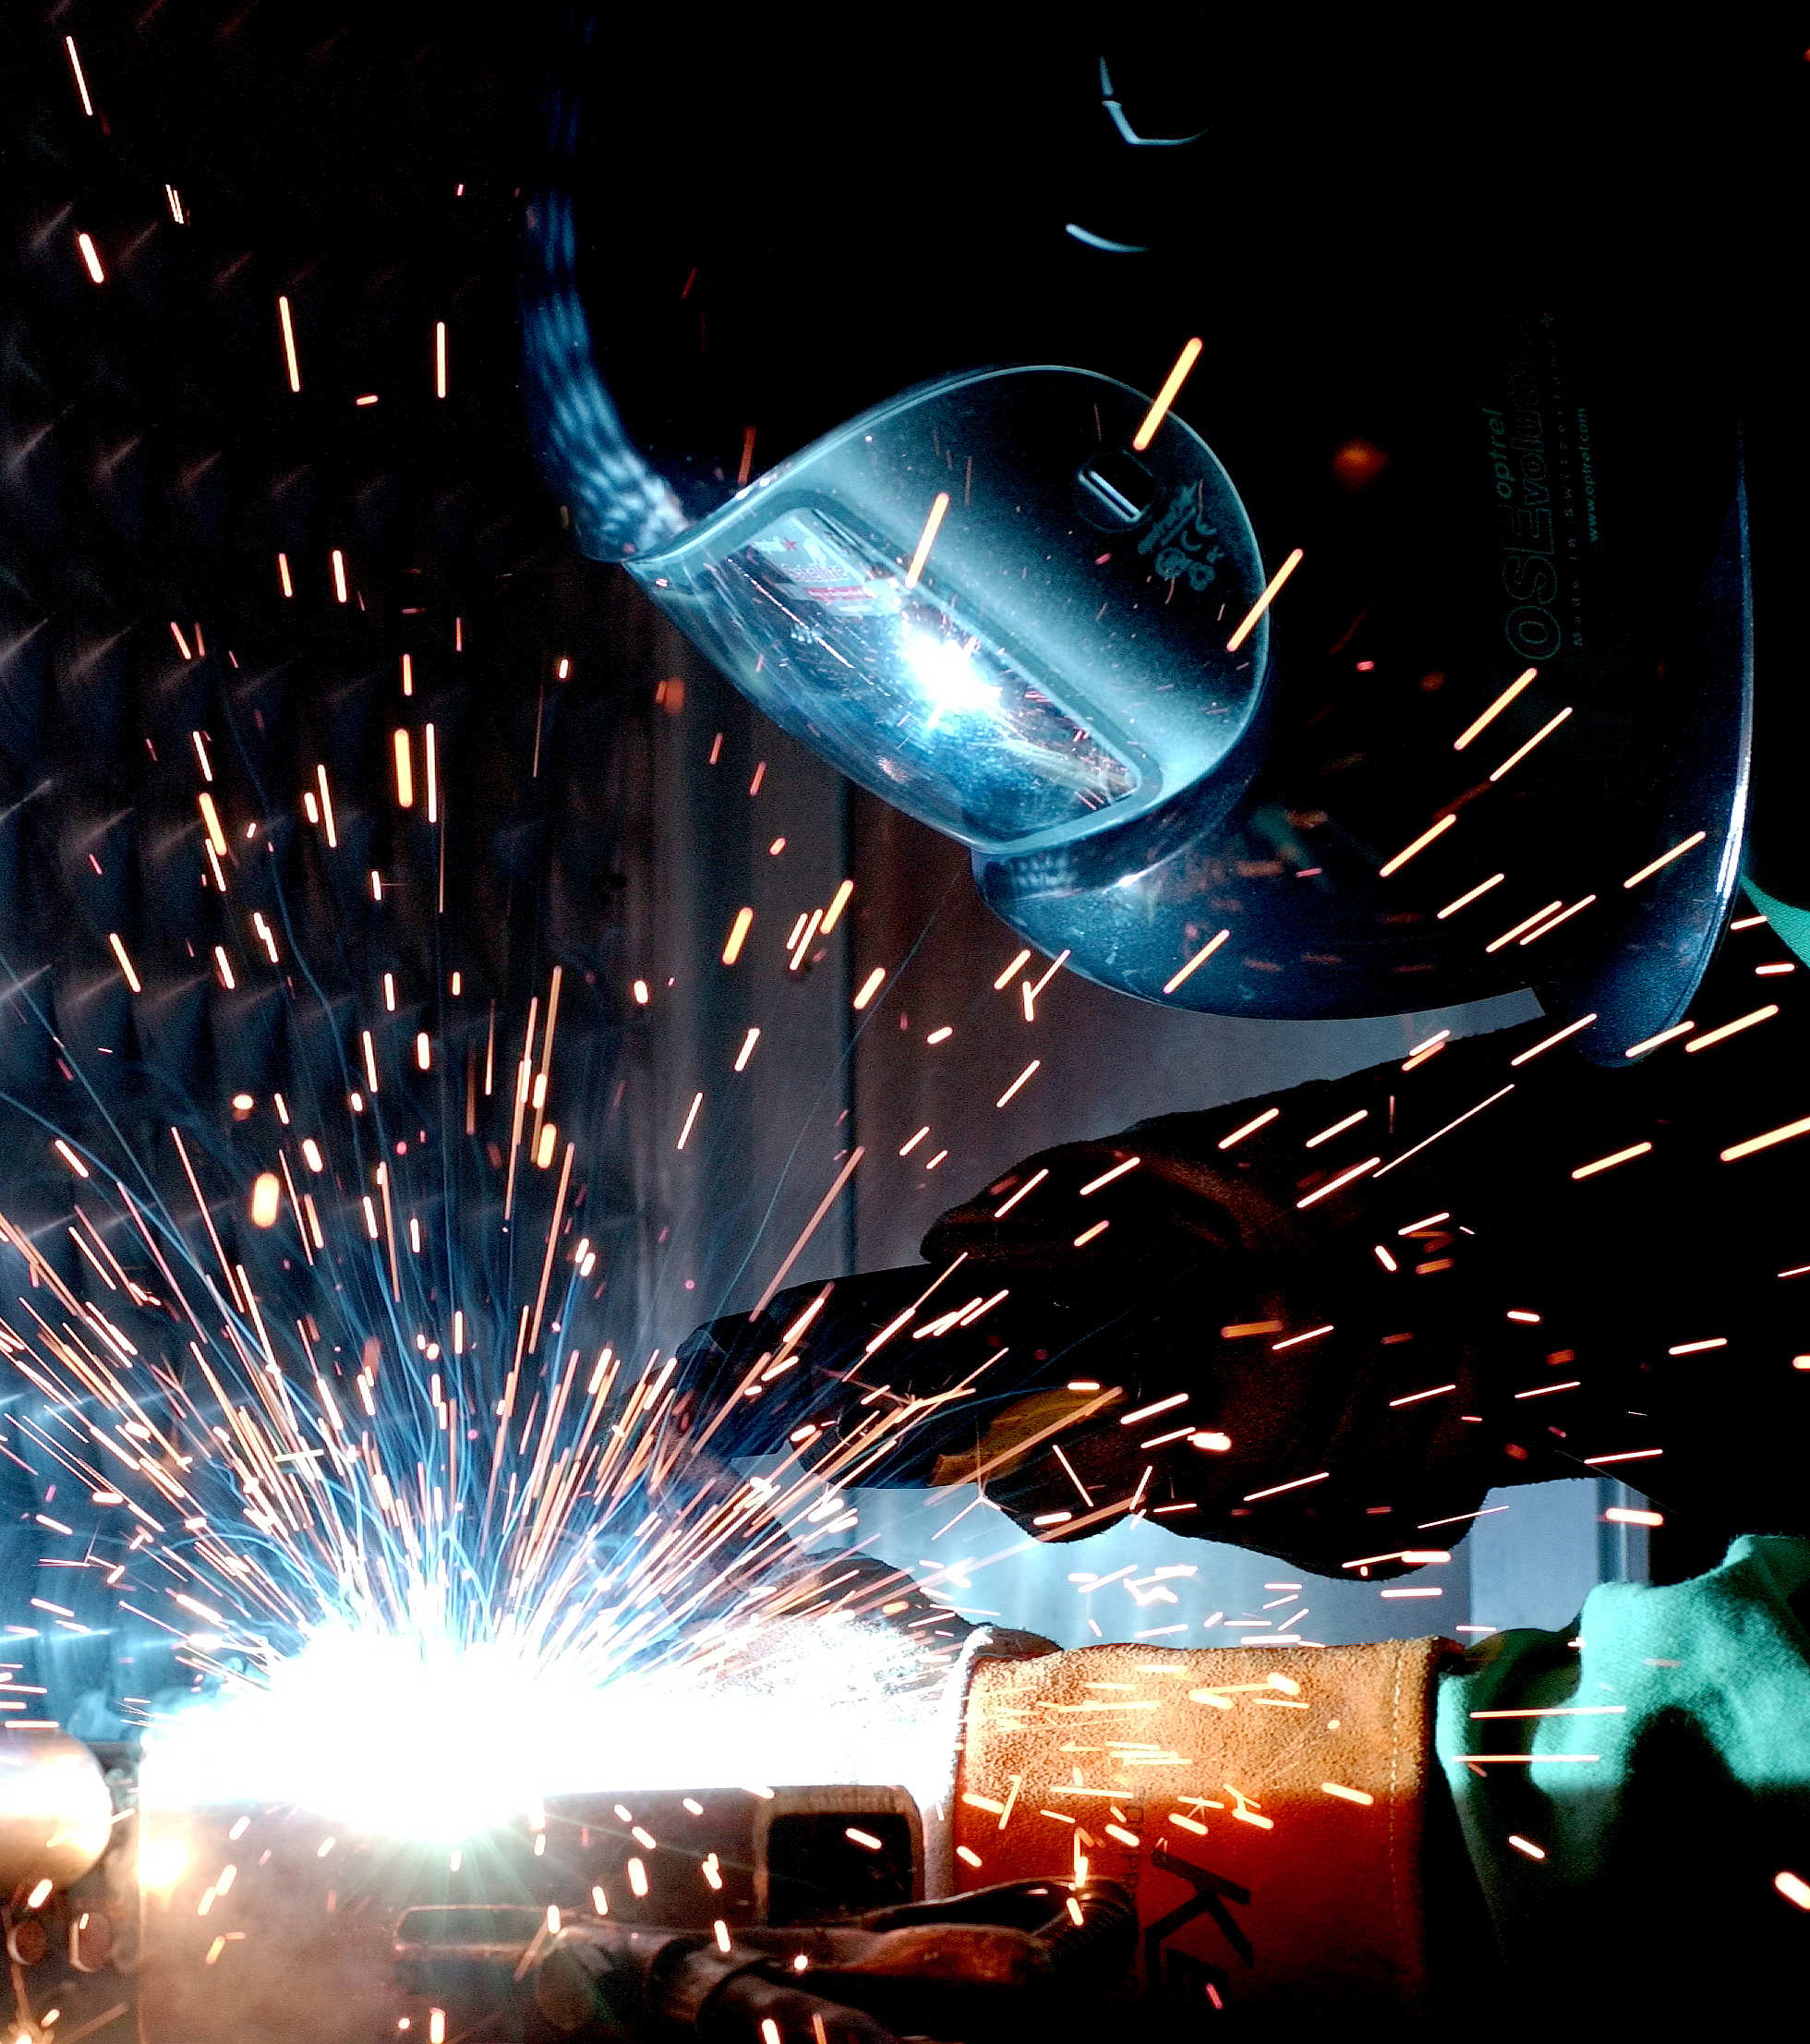
MIG Welding Station
Process: Metal Inert Gas (GMAW)
Applications: Steel fabrication, repairs, joints
Level Required: Purple Level certification
Metal Inert Gas welding techniques and best practices for quality joints.
Good Welding Sound Example

Basic MIG Welding Steps
- Set up proper ventilation and fume extraction
- Select appropriate wire and gas for material
- Clean the base metal thoroughly
- Set correct voltage and wire feed speed
- Position work piece for comfortable welding
- Maintain consistent travel speed and angle
- Listen for the characteristic "bacon frying" sound
- Allow proper cooling time between passes
⚠️ Purple Level Required
- Mandatory Purple Level training completion
- Auto-darkening welding helmet required
- Fire-resistant clothing and gloves
- Proper ventilation and fume extraction
- Buddy system mandatory
⚡ FastSpotter Single-Sided Resistance Welder
▼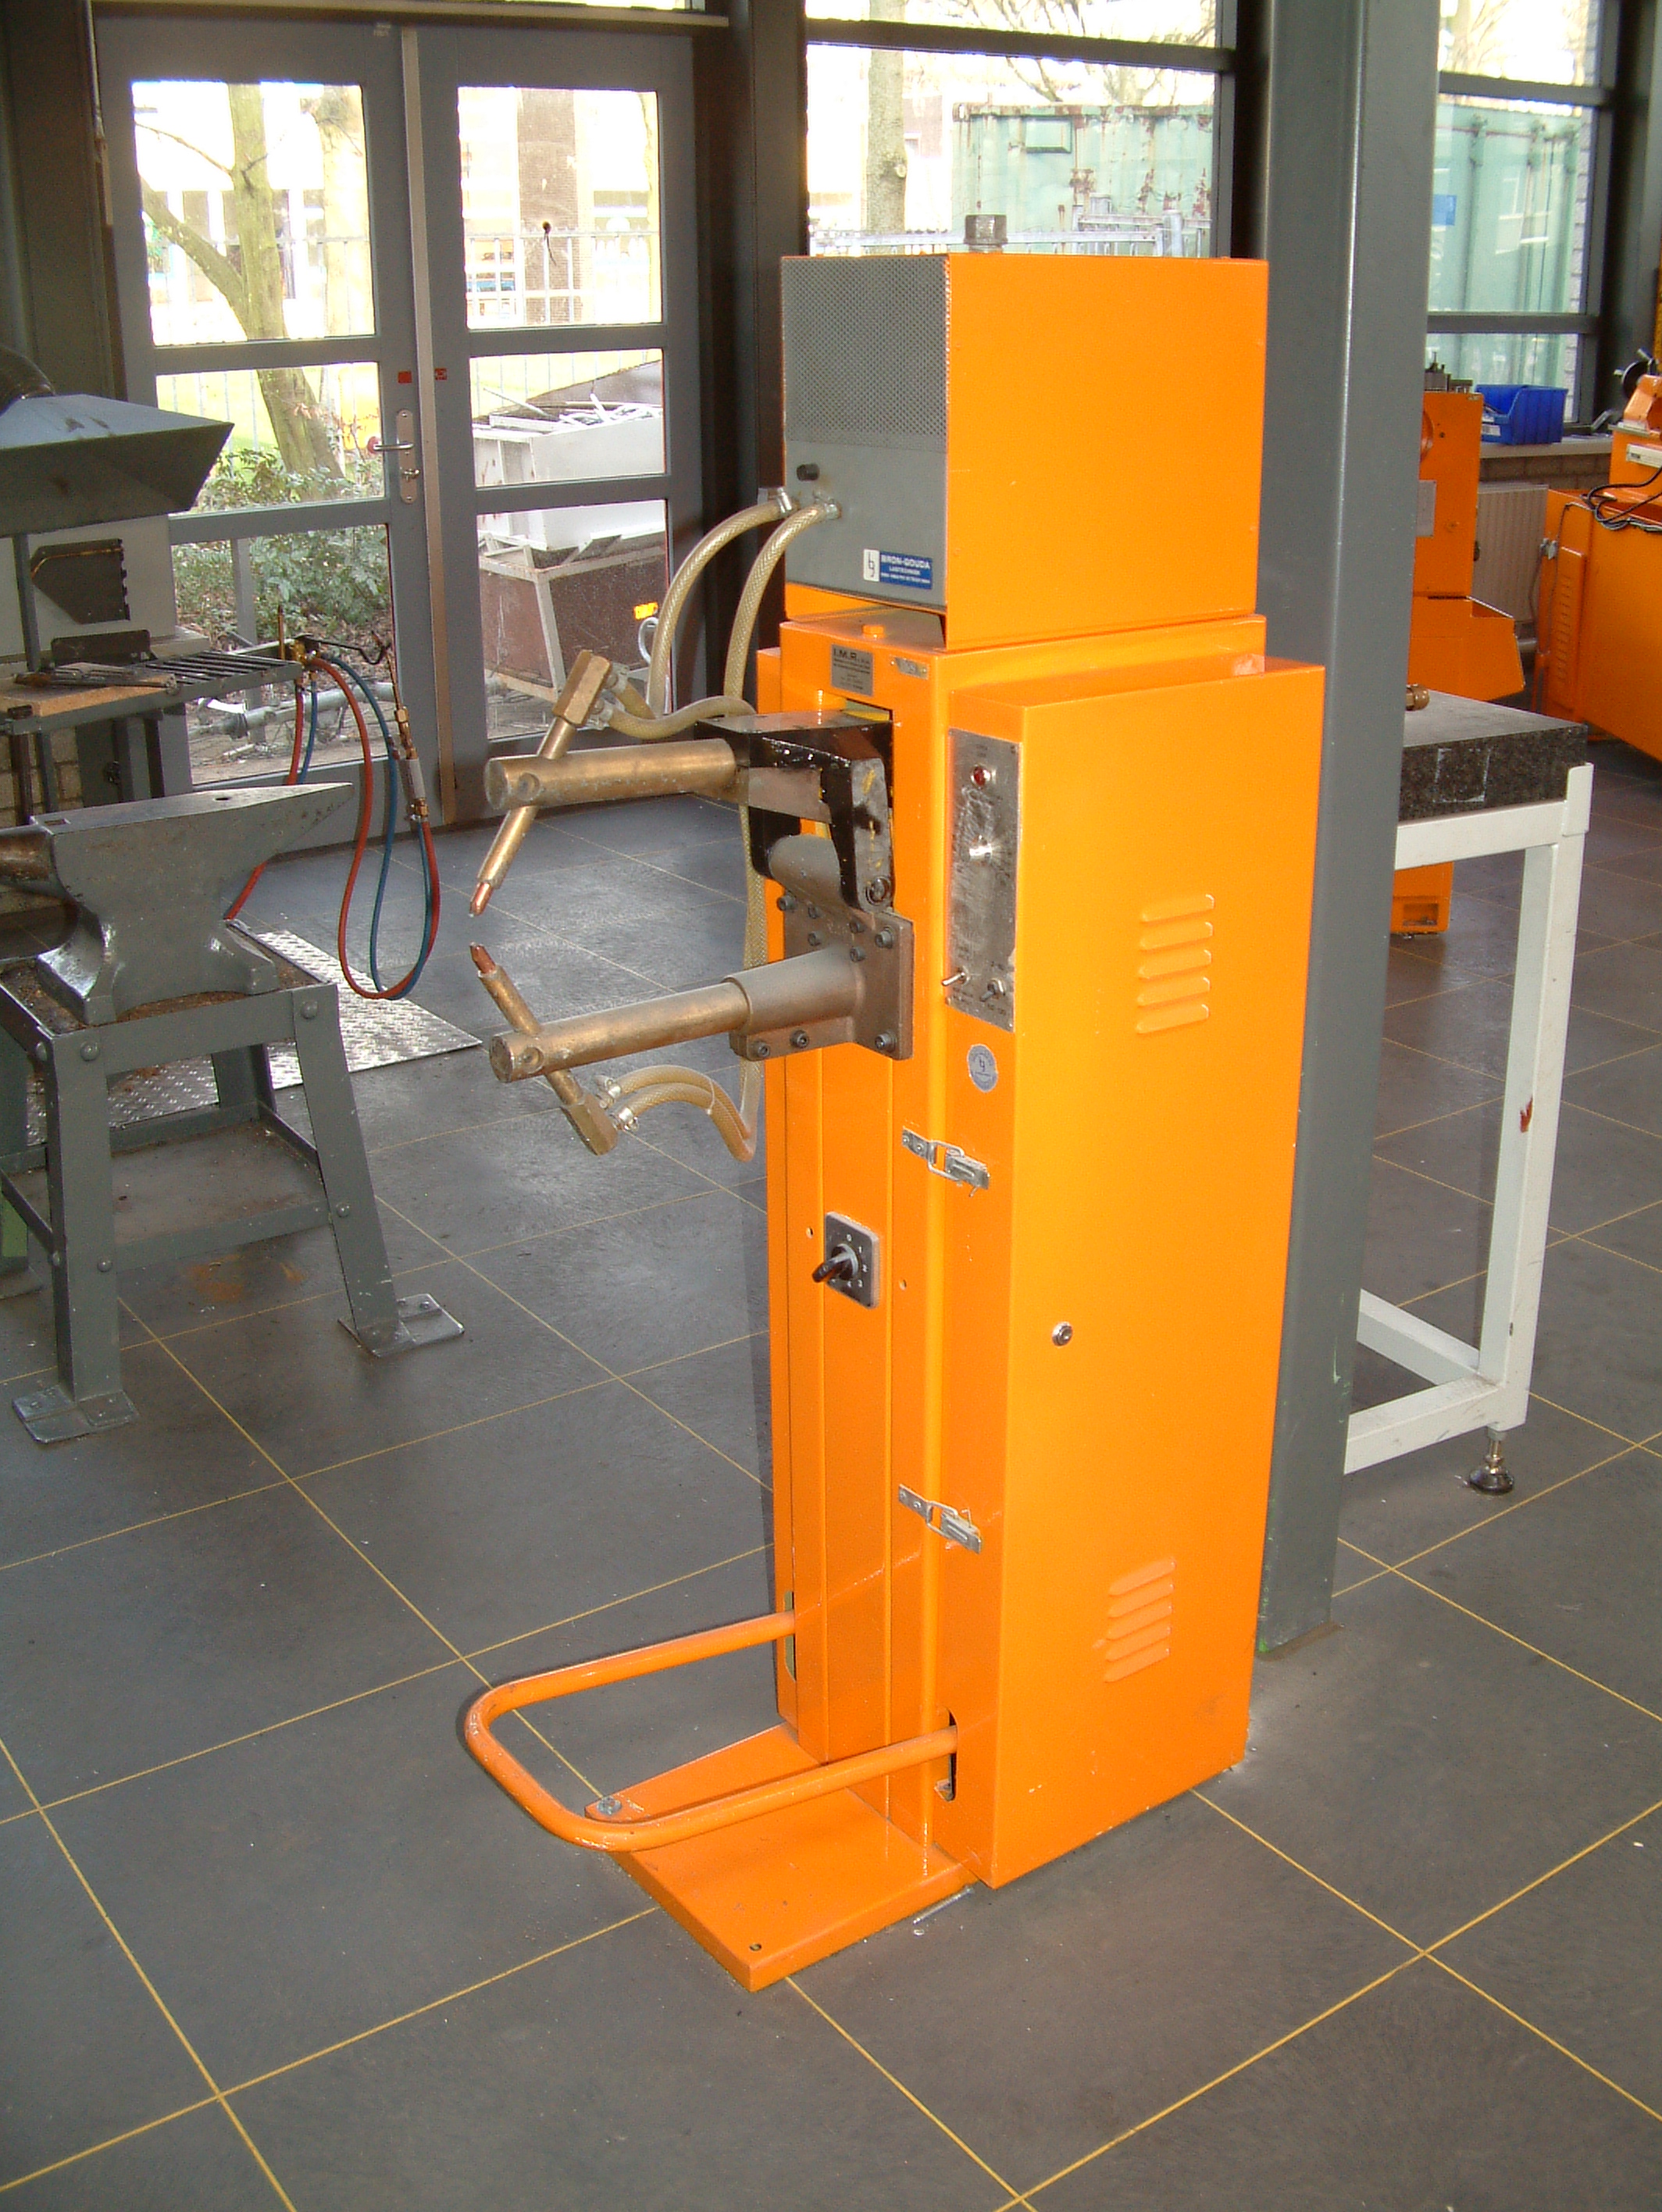
FastSpotter PX1700ECO
Type: Single-sided resistance spot/seam welder
Power: 3.5 kVA or 5.0 kVA transformer
Controller: Digital PX1700ECO with 9 timing parameters
Applications: Heat-shield panels, wire mesh, insulation, exhaust systems
Overview
The FastSpotter is a single-sided resistance spot/seam welder with digital PX1700ECO controls, designed for welding thin sheets. It works by clamping the sheets and passing high current through them (the Joule effect), so no filler material is needed. The unit includes a pistol-grip studder gun (electrode) and a workpiece earth clamp.
🛠️ Setup and Installation
- Power Connection: Have qualified electrician connect to correct mains voltage (220-240V single-phase)
- Grounding: Attach earth clamp firmly to workpiece or welding table
- Positioning: Place on level, horizontal surface (tilting >15° may cause tipping)
- Clearances: Maintain 1m clearance around machine for safe operation
- Environment: Operate in clean, dry, well-lit area with ventilation
- Air Supply: Connect clean, dry compressed air for pneumatic gun if equipped
⚙️ Operating Procedure
- Pre-Operation Inspection: Check cables, studder gun, and clamp for damage
- Power On: Switch main isolation switch, then machine power
- Parameter Setup: Configure PX1700ECO timing parameters:
- Squeeze (clamp) time
- Weld time and pulses
- Hold (post-weld) time
- Current Adjustment: Start with low current, test on scrap metal, gradually increase
- Test Squeeze: Use black "squeeze" button to test pneumatic clamp without welding
- Make Weld: Position electrode on top sheet, ensure earth clamp contact, press green trigger
- Post-Weld: Release trigger after cycle ends, allow cooling, inspect weld
- Clean Electrode: Remove spatter with fine file between welds
📐 Material Specifications
- Top Sheet Thickness: Typically limited to ~1.0mm
- Bottom Sheet Thickness: ~0.75mm maximum
- Materials: Thin steel sheets, heat-shield panels, wire mesh
- Industries: Aerospace, automotive, motorsport applications
🎛️ PX1700ECO Digital Controller
Advanced digital control system with three numeric displays controlling nine welding timing parameters:
- Squeeze, pre-weld, weld, impulses
- Down-slope, post-weld, hold, pause
- Up to 10 programmable weld programs
- Values displayed in mains half-periods (50/60 Hz)
- Seam-weld mode available via circuit board jumpers
⚠️ Critical Safety Requirements
- Training: Yellow Level minimum - only trained, competent operators (OSHA 1910.255)
- PPE: Welding safety glasses/helmet, insulated gloves, flame-resistant clothing
- Electrical Safety: High current output - never touch live terminals or wrap cables around body
- Hot Metal Warning: Electrodes become extremely hot - never touch with bare hands after welding
- Hand Safety: Keep hands, fingers clear of electrodes and clamp during operation
- Level Operation: Never use on inclined surface (>15° tilt risk)
- Magnetic Fields: Strong fields can affect pacemakers and damage electronics
- Workspace: Keep floor dry, oil-free; ensure good ventilation for fumes
- Emergency Access: Maintain accessible emergency stop/power switch
- Buddy System: Never operate alone - pair work required
🔧 Maintenance & Troubleshooting
- Regular Cleaning: File electrode tips to remove spatter buildup
- Air System: Check compressed air supply is clean and dry
- Electrical: Only qualified personnel for electrical maintenance
- Lockout: Always shut off and lock out power before any maintenance
- Weak Welds: Increase current gradually
- Burn Through: Decrease current or reduce weld time
📚 Technical Resources & Manuals
📖 FastSpotter Operating Manual
Complete installation, operating and maintenance manual for FastSpotter 3.5 & 5.0 models
Download PDF Manual🎛️ PX1700ECO Controller Manual
Technical documentation for PX1700ECO digital control system
Download Controller ManualAdditional Resources
- Safety Standards: OSHA 1910.255 "Resistance Welding"
- Equipment Supplier: FastSpotter Product Page
- Industry Guides: AWS safety bulletins, Miller Electric resistance welding guides
- Workshop Support: Contact fabricationstation@tus.ie for training or technical issues
🎯 Key Success Factors
- Current is Critical: Weld quality depends much more on current than time
- Clean Contact: Ensure electrode tip and earth clamp have excellent contact
- Test First: Always test on scrap material before final welds
- Progressive Settings: Start low current, increase gradually until satisfactory nugget forms
- Proper Sequence: Follow squeeze → weld → hold cycle completely
🌟 Plasma Cutter
▼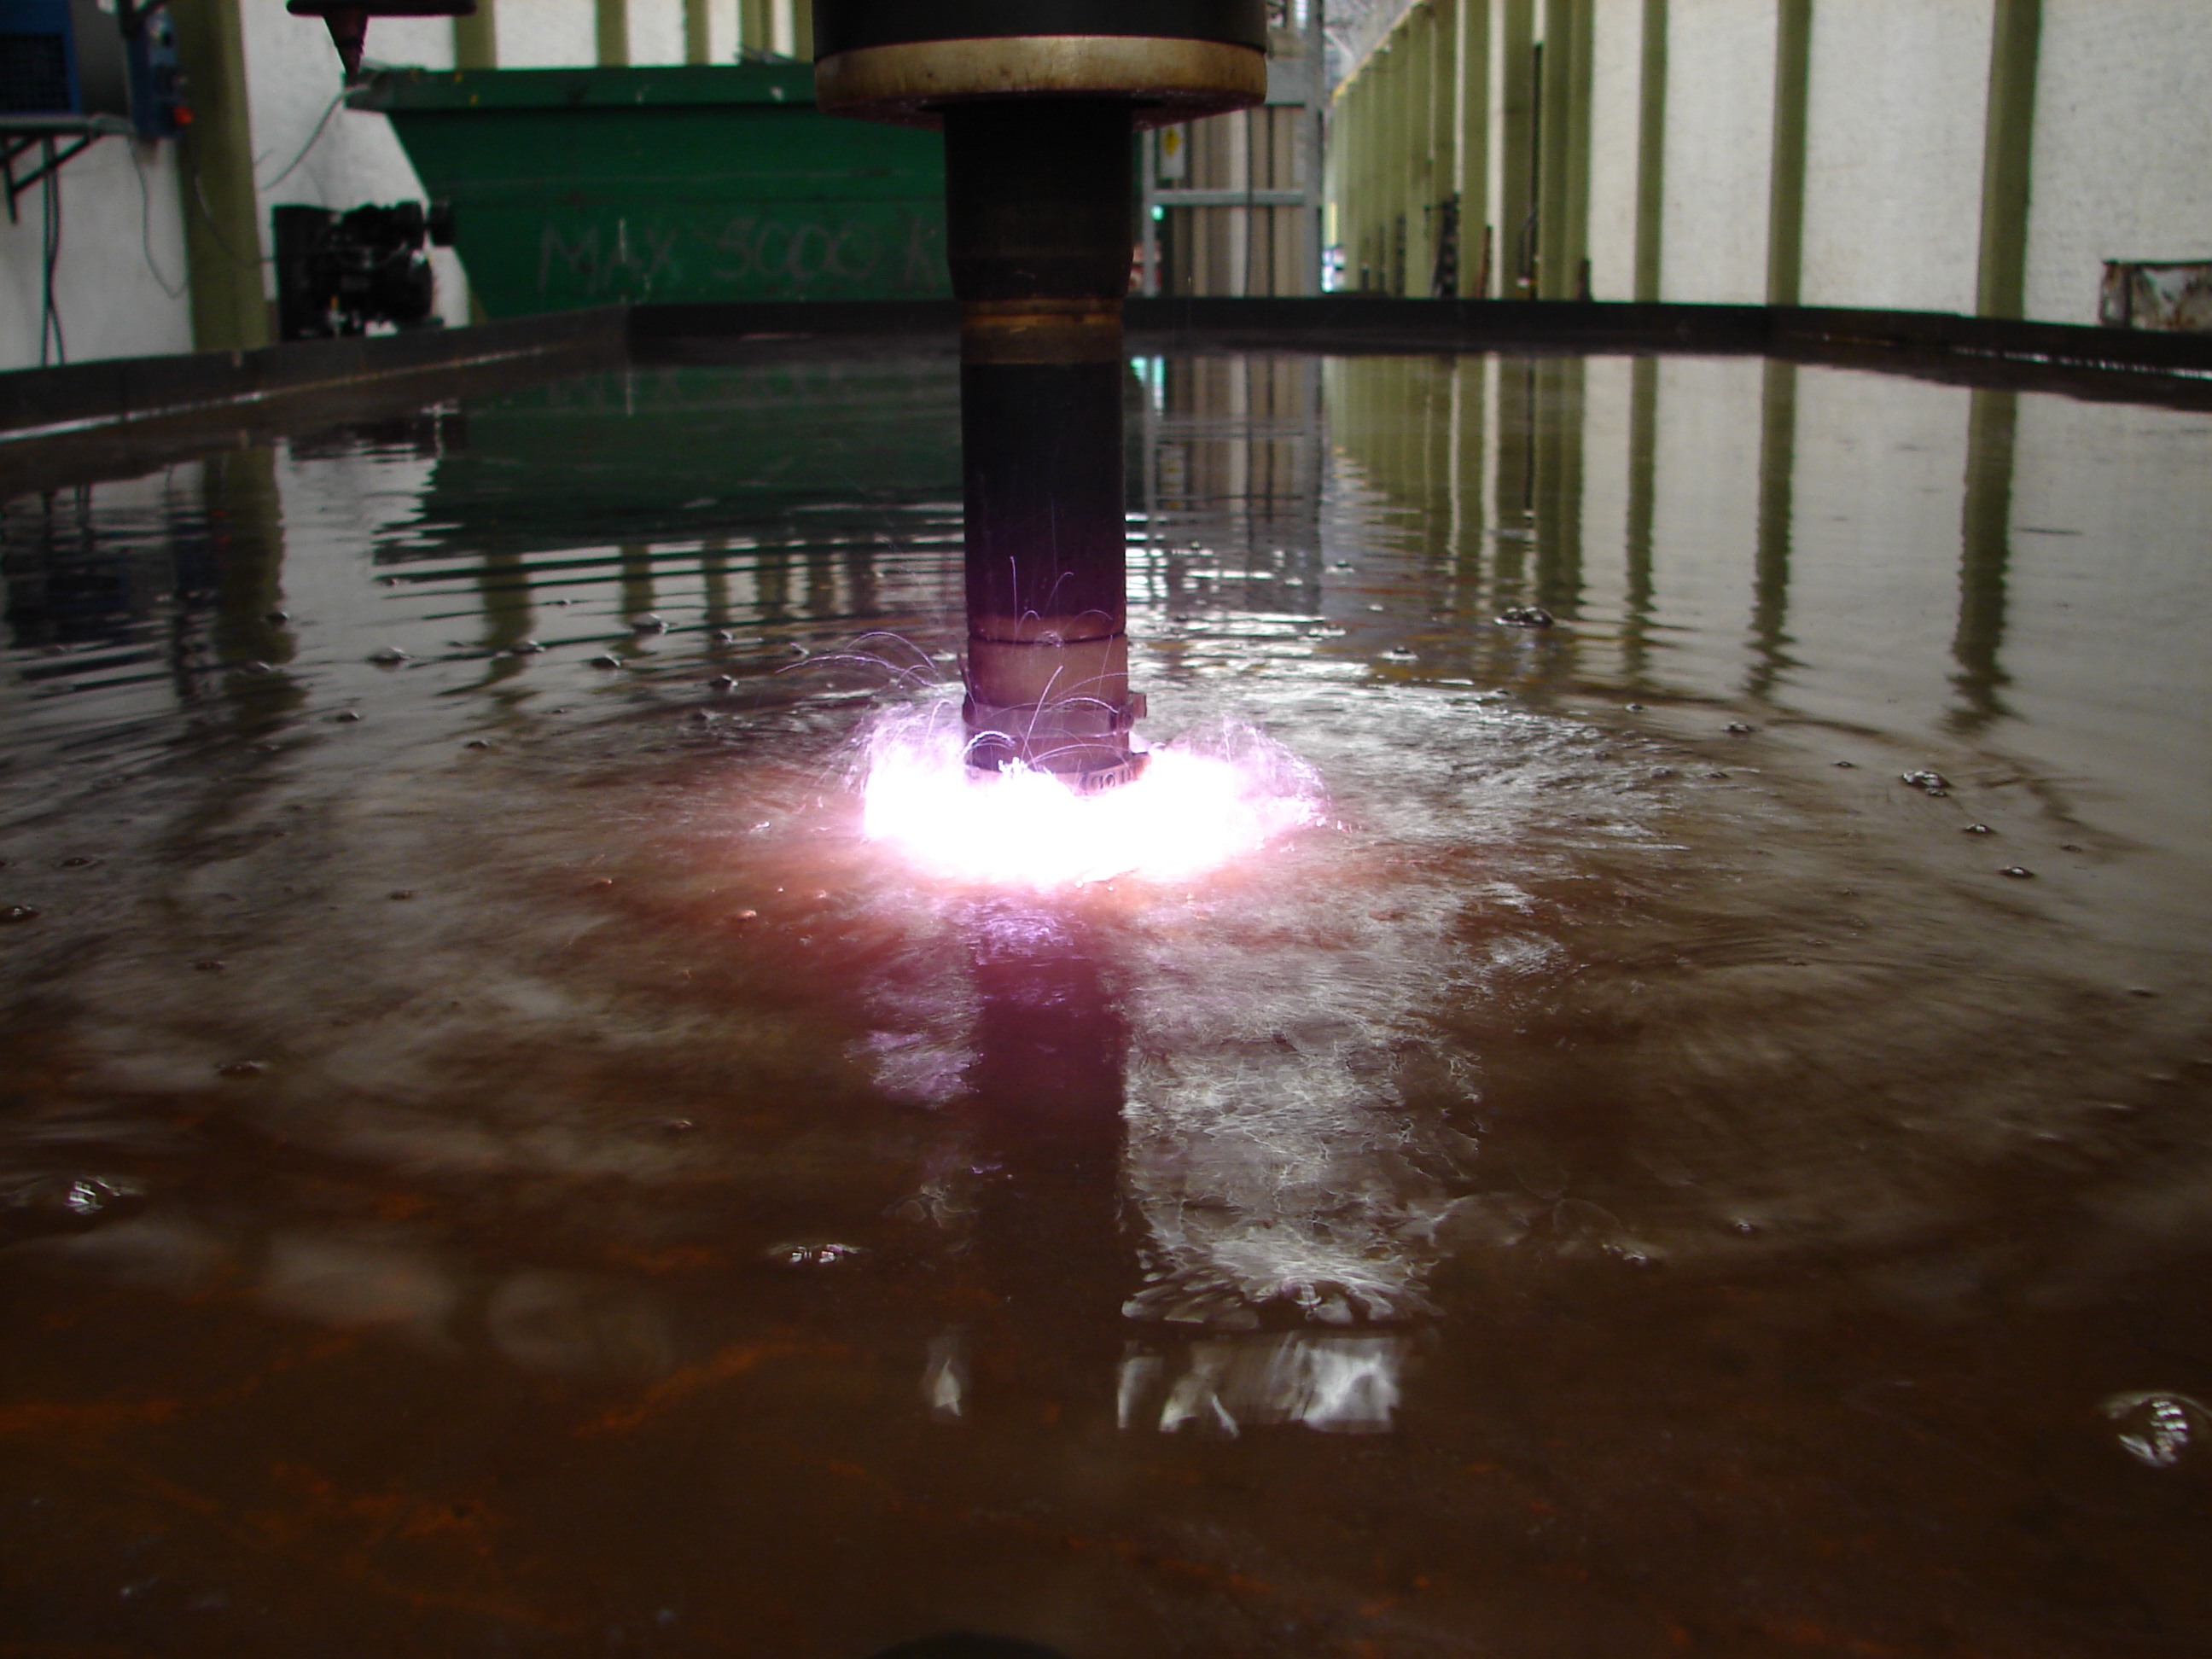
Plasma Cutting System
Process: High-temperature plasma arc
Applications: Thick metal cutting, precise shapes
Level Required: Purple Level certification
High-precision cutting for thick metals using plasma arc technology.
Basic Plasma Cutting Steps
- Ensure adequate air supply and pressure
- Select appropriate cutting tip for material thickness
- Set correct amperage for material type
- Position work piece on cutting table
- Start arc away from cut line
- Maintain consistent travel speed
- Keep torch perpendicular to work surface
- Complete cut in single pass when possible
⚠️ Purple Level Required
- Purple Level training mandatory
- Welding helmet with proper shade rating
- Fire-resistant clothing required
- Adequate ventilation critical
- Fire extinguisher within reach
- Buddy system required